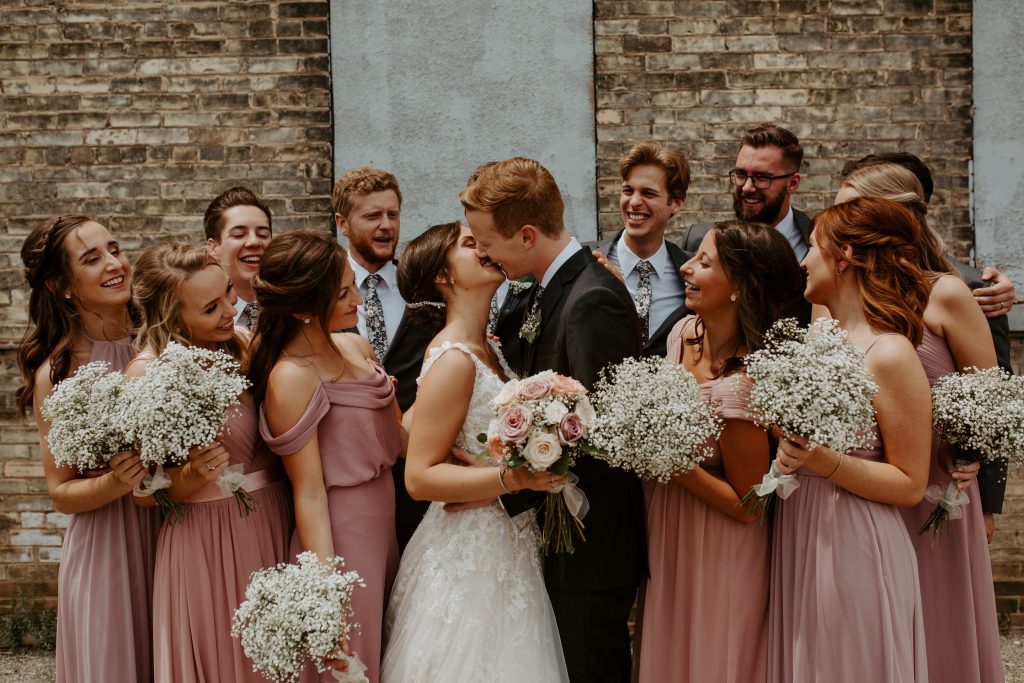
Hi there!! If you're reading this, that means you want to learn how to incorporate more movement into your photos (which is always a great thing). Movement creates a natural and candid feel to photos, and today we’re going to talk about how to achieve this in your photos!
One of the best ways to incorporate movement into your photos is by using prompts AND poses. Here's the difference between the two:
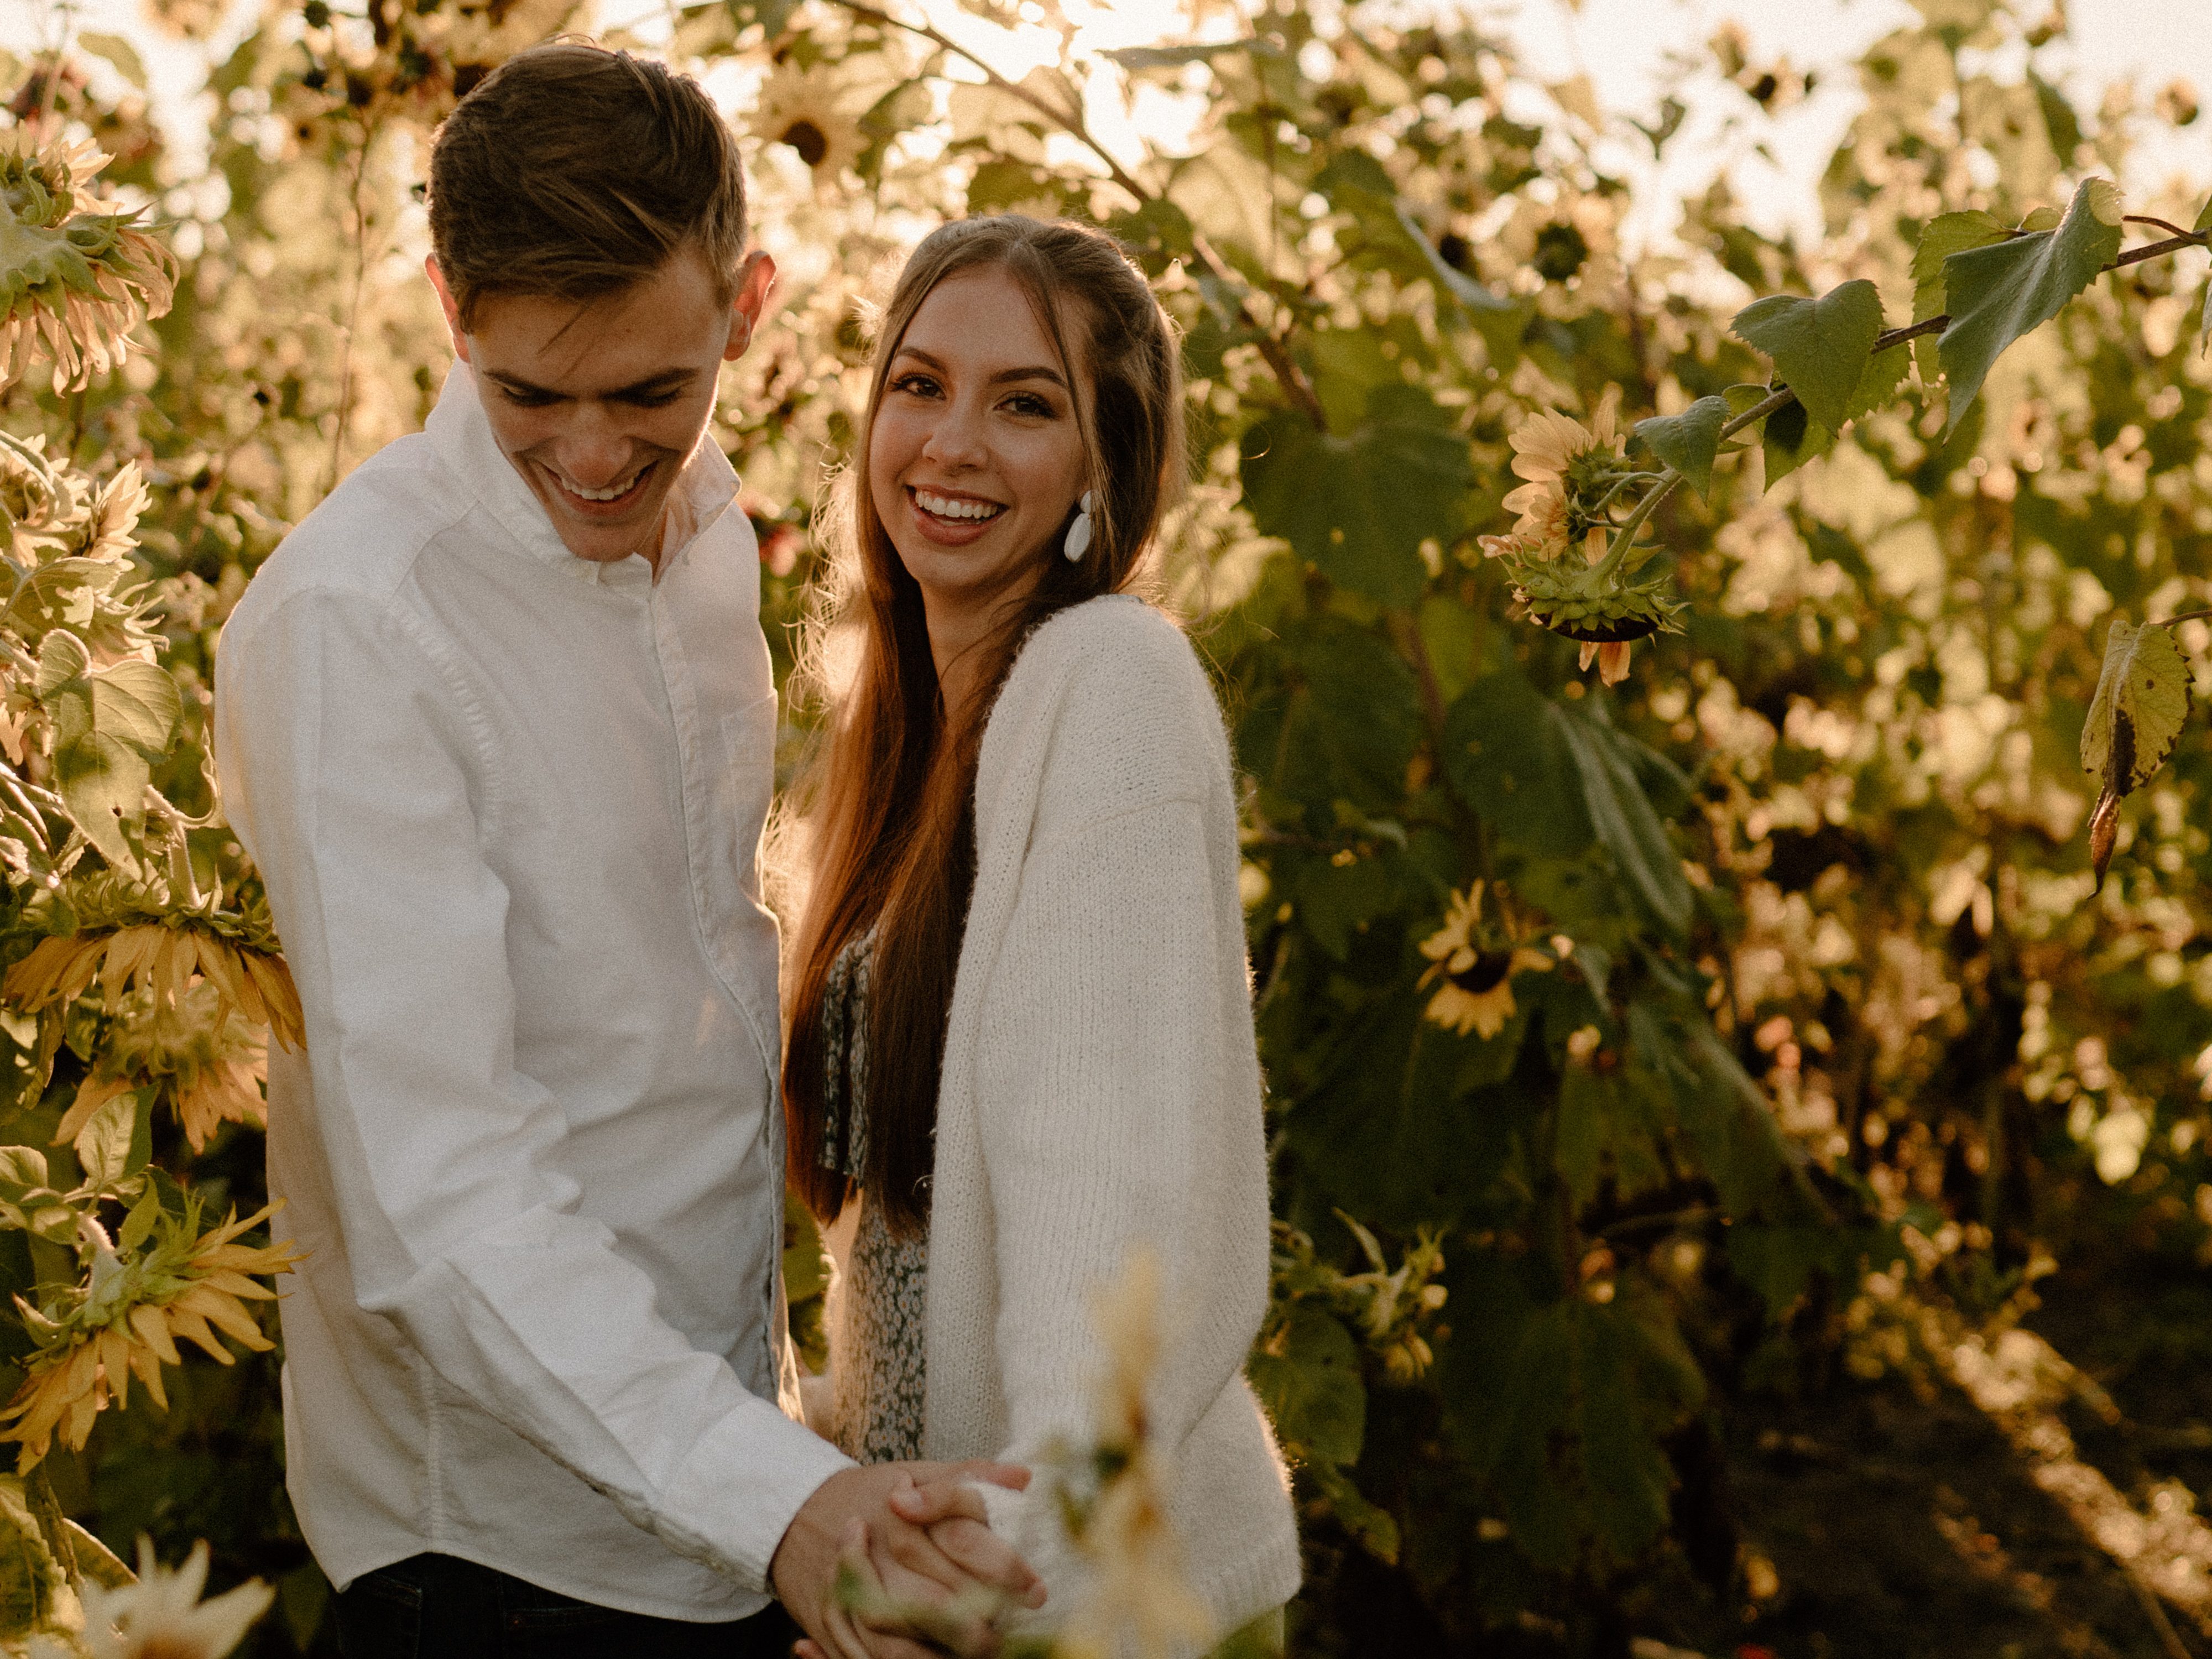
Prompting is telling your subject to do something without super specific instructions. Basically, letting your subject choose the face that they make & choose their reaction.
For example: walk towards me holding hands, whisper a joke into her ear, etc.
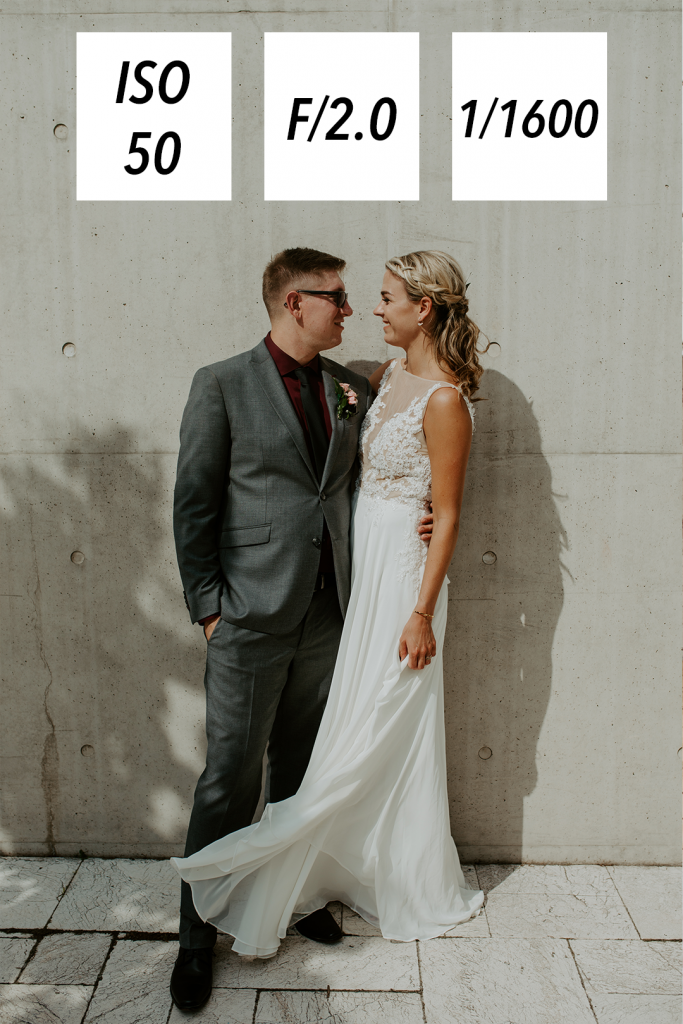
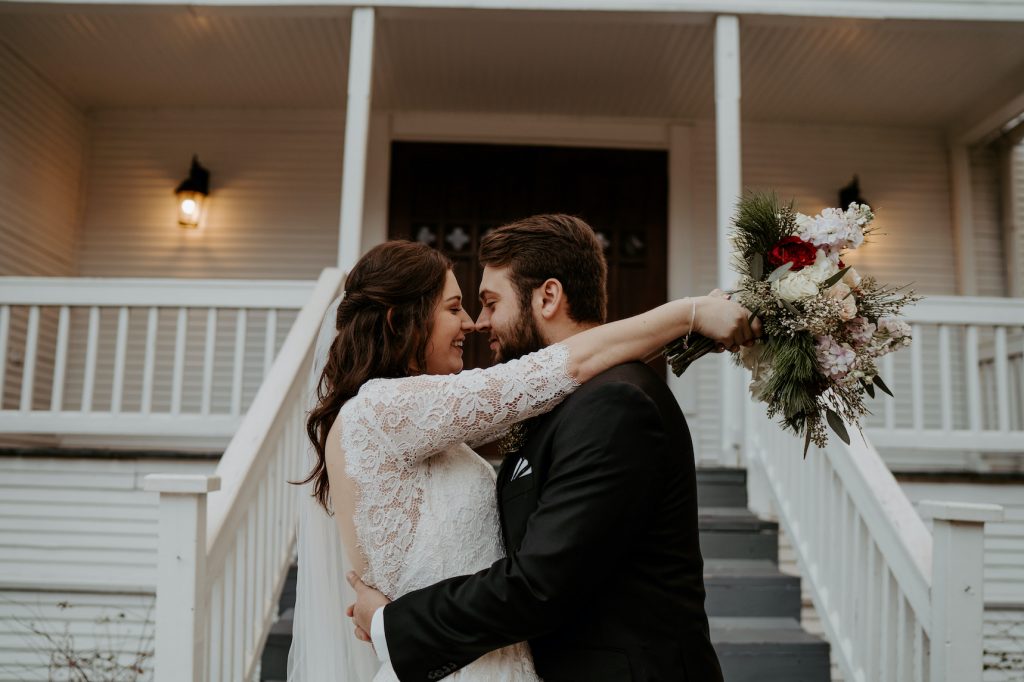
Posing is using exact poses and positioning your subjects in the right place. Typically, I'll tell my subjects to stay in a specific pose (like press your foreheads together), but my prompt will be specifically geared towards their reaction (look into each other's eyes and tell each other something you love about each other).
While I still use poses for specific types of photos, if you want a more candid feel to your images, I highly suggest prompting your subjects too!!
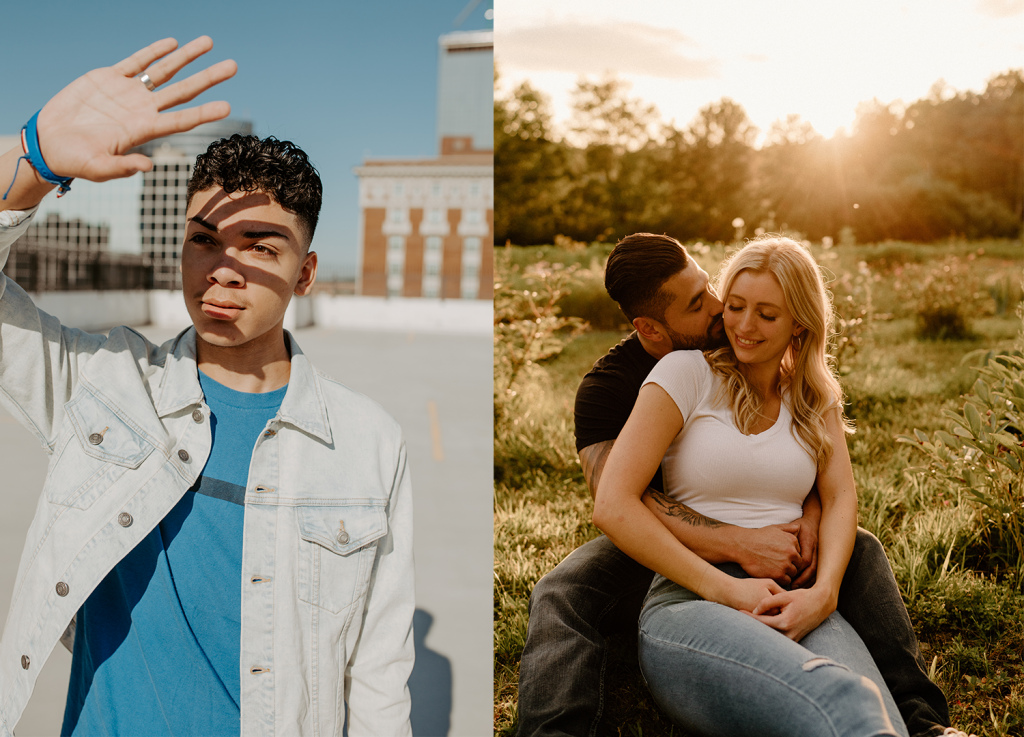
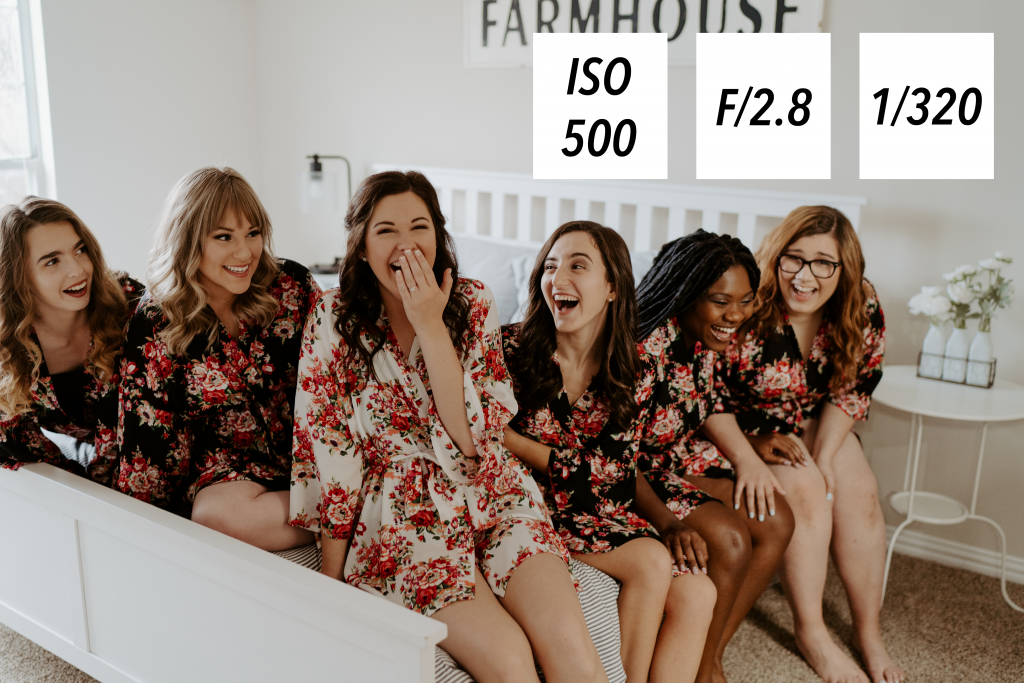
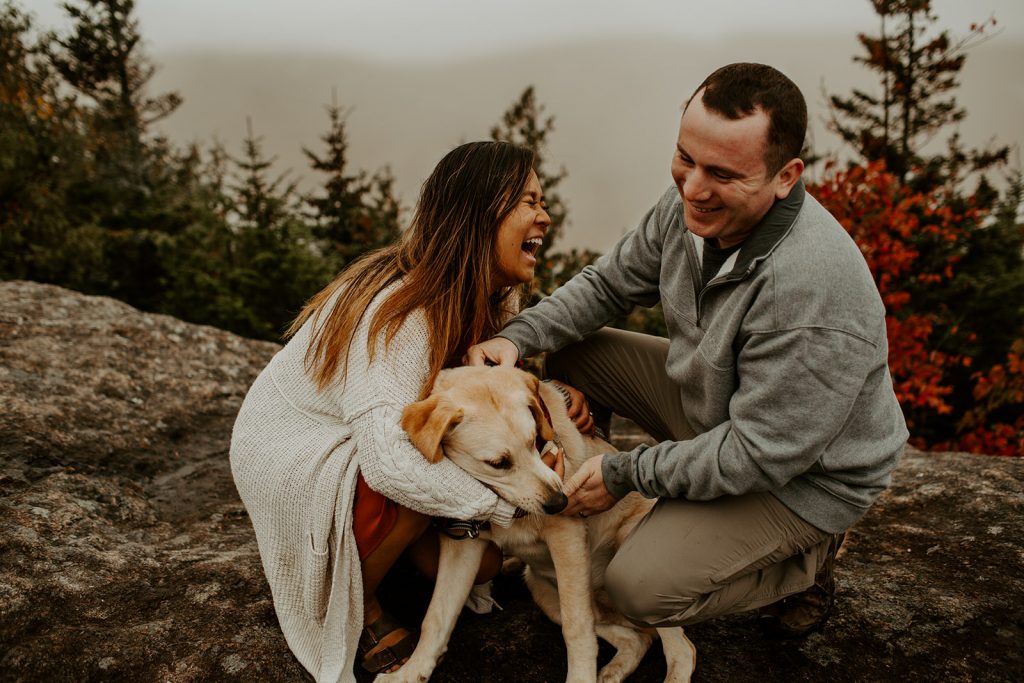
When your subjects are interacting with eachother, it’ll help keep the movement alive and give you some time to get new angles! Let the couple talk to each other, and give them fun prompts to keep them moving throughout the session.
A great way to keep your couple interactive is by giving them a longer prompt to do!! So if you tell your couple to walk around and bump hips with each other, this will give you lots of time and multiple opportunities to get an interactive shot.
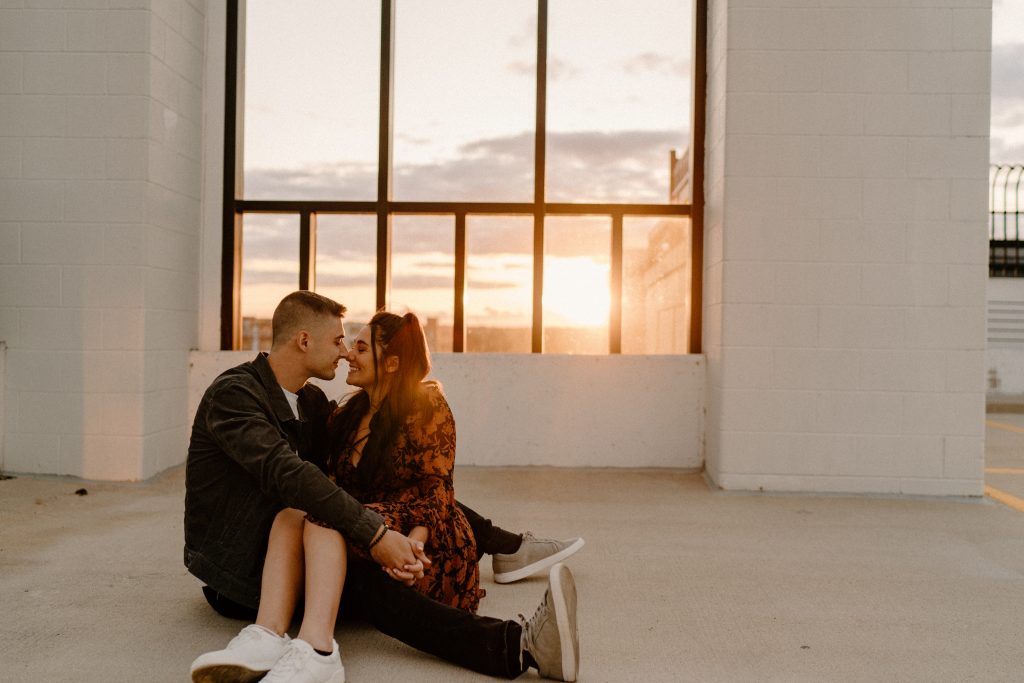
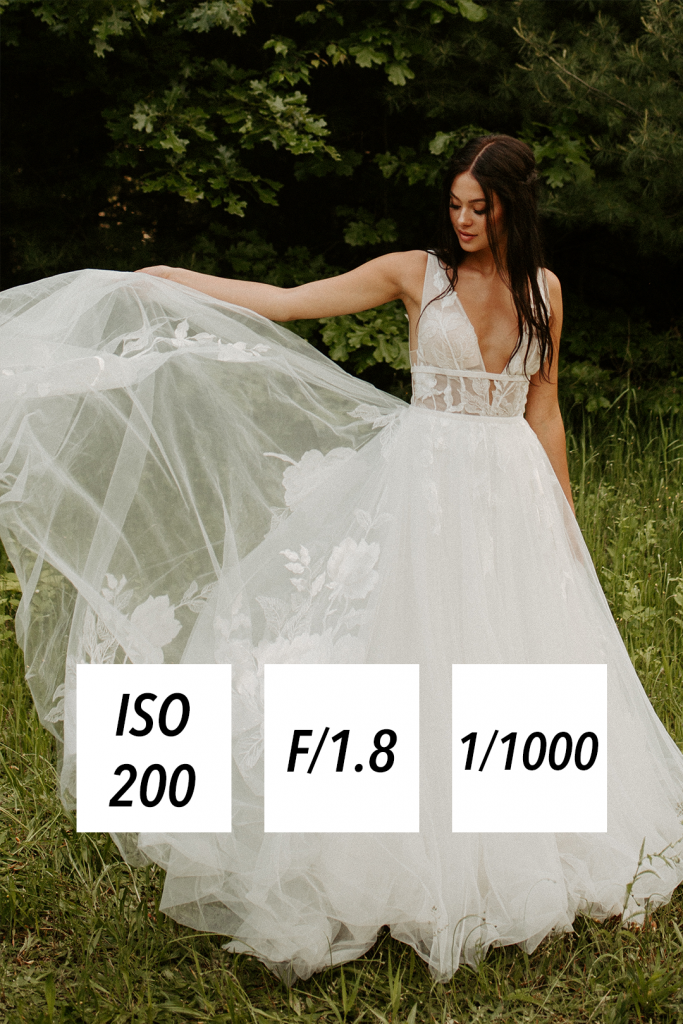
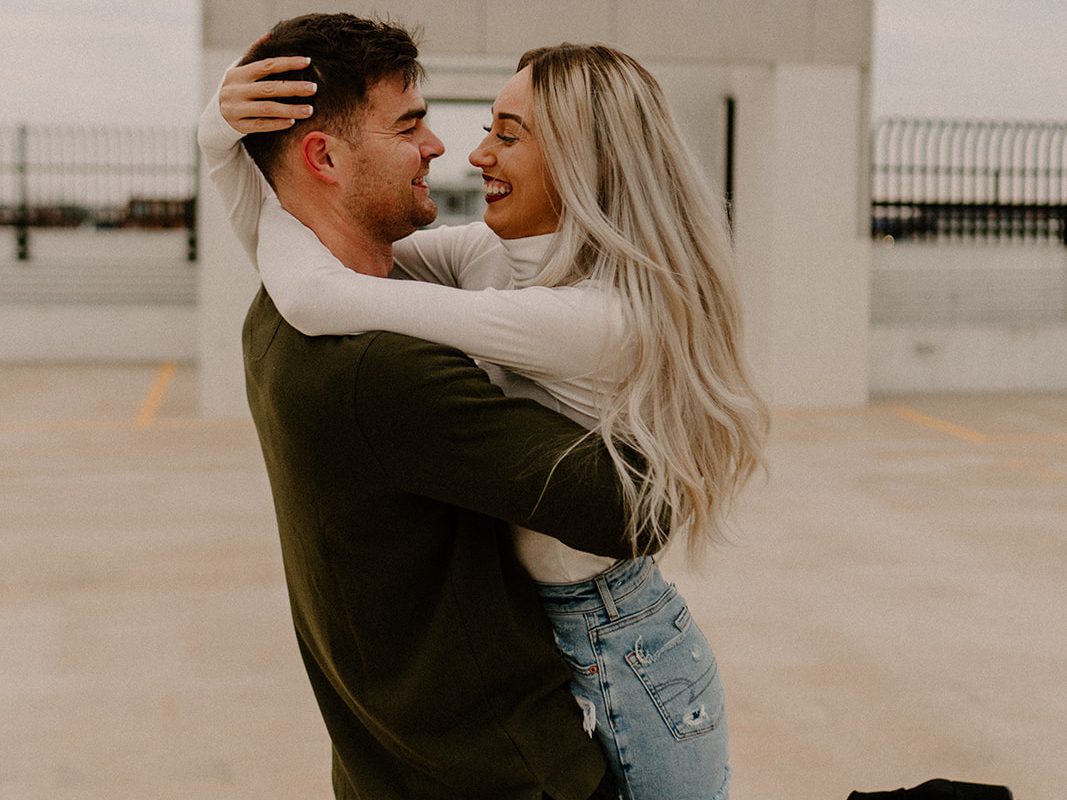
I love using a low shutter to capture the movement within my photos! I’ll usually lower my shutter to 1/30 and let my camera do the rest (make sure you change your other setting accordingly for proper exposure)
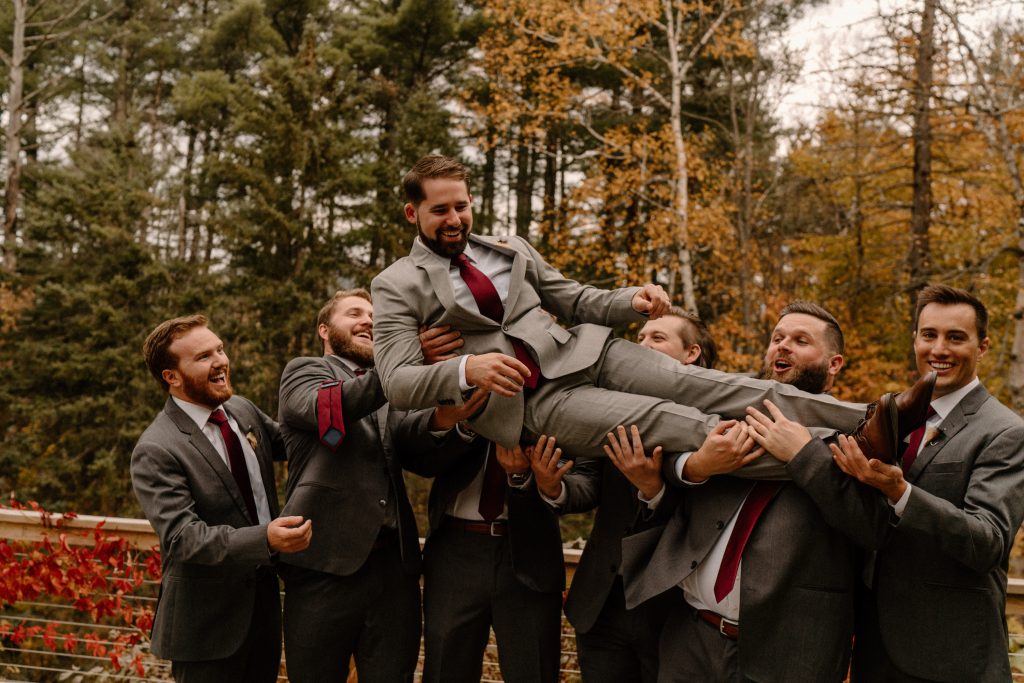
When you use a lower shutter, it creates a natural motion blur within the image and it’s such a fun way to incorporate motion into your images.
Have your couple do something with a bit more movement than the typical pose, like the example above! Even if you tell your couple to sway back & forth, the low shutter will capture some of that motion in your photos.
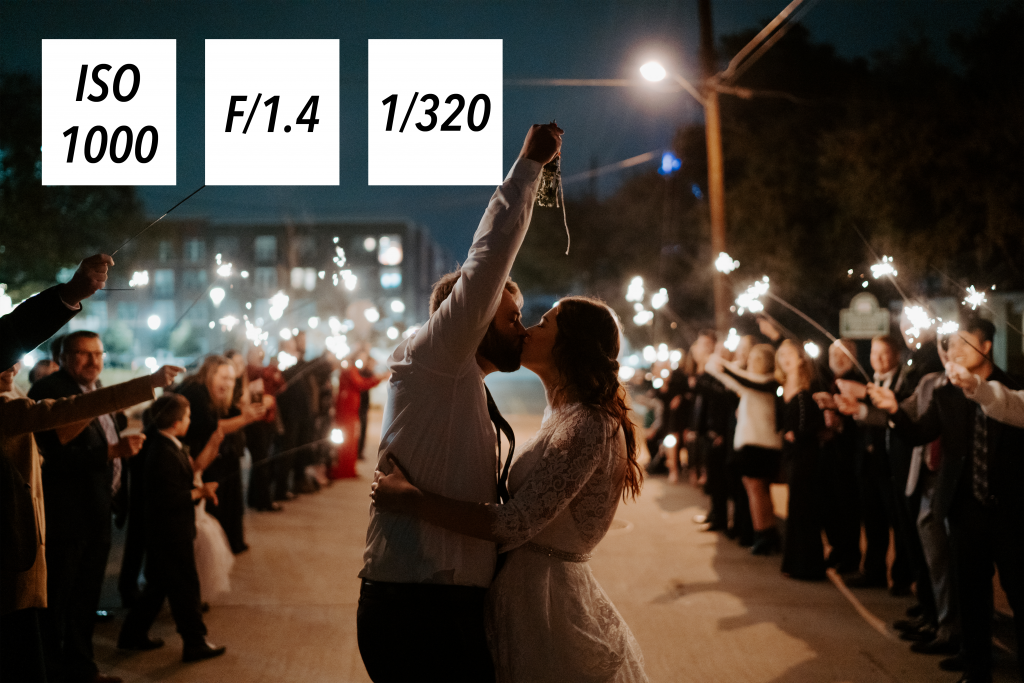
As I’m capturing my subject, I’m constantly thinking “how can I tell a story within these photos?” And oftentimes, the answer is to incorporate movement into my photos in some way!!
These are some of my favorite story telling vibes:
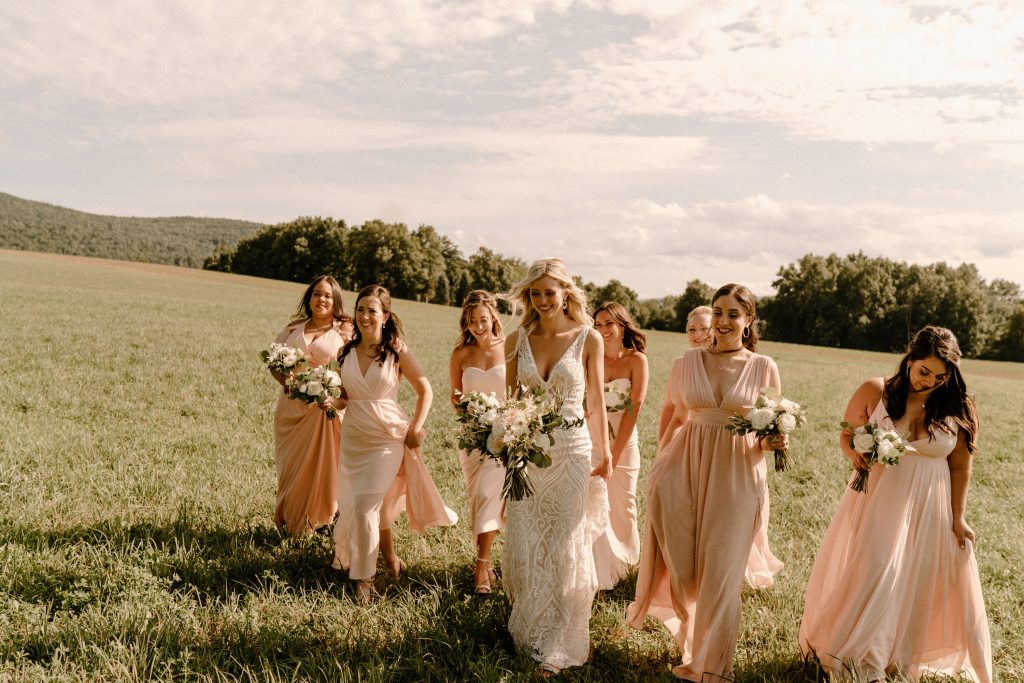
You get the point!! Each photo you take can tell a story.
What story do you want to tell with these photos? Utilize poses and prompts that will naturally portray their emotion & their unique story!
]]>Hey there!! Today, I want to chat alllll about getting the RIGHT people to your website. Your website is a space for you to express who you truly are - what service you provide, what it's like to work with you, and ultimately, it's a place for you to say 'hey, you should work with me!!'.
So let's jump into ways to get your ideal audience onto your website (organically).
If you don't know, a CTA stands for Call To Action, which essentially is a statement that makes your audience take action on whatever you're talking about.
Anywhere on your social media, you need to have Call To Actions to tell your audience what they should do next! And if you want more traffic on your website, use a CTA to get your audience onto your site.
A few areas you can use a CTA on social media is:
For example, if your latest caption is talking about a new blog post about Wedding Day Tips... your last sentence of the caption can be "Go to the link in my bio to read more Wedding Day Tips!". This will bring more people to your site, but also provide value to to your ideal audience.
Pinterest is an AMAZING way to get traction on your website, and to target your ideal audience. You'll want to create pins + content that will direct users to your website, so make sure you link your website to EVERY SINGLE PIN.
I love to create content specifically for Pinterest, like collages or color palettes, and play around with which pin performs best! Every single pin click is another user on your website, so make sure you're targeting your ideal audience to get them on your site.
One of the best ways to get your ideal audience on your website is by creating content for them ON your website! It sounds super simple, but a lot of people don't actually cater to the needs of their audience when it comes to their website.
I usually suggest creating a blog or some sort of freebie where your ideal audience can gain knowledge + helpful info from you. Not only does this get your ideal audience on your website, but it also establishes your credibility as an expert in your field. Who knows, you might even end up on Google searches if you utilize this method!!
]]>Today, we're talking alllllll about Pricing Guides in a photography business! Having a Pricing Guide has changed my business completely, and truly has helped it grow. So let's talk about why you should be using a Pricing Guide in your business too.
The biggest benefit to sending a Pricing Guide is showing your potential clients that you're professional. No one likes to be greated with an email consisting of a long list of prices on a Word Doc & no context, so why not make the process more enjoyable for your clients?!
When potential clients are looking for their photographer, they're basing the decision off of first impressions. A Pricing Guide is the professional piece of info that will give off the best first impression you possibly can. Not only will your potential clients get a feel for your branding and your style, but they'll also remember your Pricing Guide apart from other photographers!!
When you have a pricing guide to send to your potential clients, it shows that you've been around the block a few times (and you know what you're doing!!). It's always good to add in extra tips, reviews, and helpful information into your pricing guide. By doing this, you're proving to your potential clients that you're willing to help them throughout the process & you're a true professional in your industry.
This one is HUGE! A pricing guide will make your booking process so much simpler (for you and your clients). If you're responding to inquiries with the same Pricing Guide & email template every time, it speeds up your response time & that's important. It also allows you to reference the guide on phone calls, and ultimately, book your clients from the info they see on the pricing guide.
I love sending pricing guides because it's one less thing you have to worry about! And when I have 10 other things on my plate, the last thing on my mind is putting together my pricing for an email.
All right, I hope I convinced you to send pricing guides to ALL of your inquiries! I promise, it helps SO much. If you need a place to design your Pricing Guide, I love using Canva to design all of the guides that I send to clients.
Talking in front of a camera can be tough, but don't worry - you can DO THIS! When I first started filming myself for my business, I felt self-conscious and I started to overthink every aspect of my videos. It's been about a year since I first started filming myself for social media, and here's a few helpful tips for getting past the awkward stage...
This is a great place to start if you want to begin filming yourself for social media! It's as easy as talking on your story 3-5 times per week about literally ANYTHING. Treat the camera as a close friend, and act as if you're FaceTiming someone & telling them a story. If you have hiccups along the way, THAT'S OKAY! Nobody's perfect, and sometimes that's what your audience likes to see. Mistakes and stumbling over your words will create a raw + real feel to your videos. Don't rehearse it too much, and just post it no matter how you feel about it. You'll always be your own worst critic.
If you're talking about something planned & specific, try writing out your talking points! Don't write things out word for word, but if you have a hard time remembering what you need to cover, this will be super helpful.
Typically, I'll brainstorm 3-4 points that I want to talk about and then naturally incorporate them into my videos as I talk.
I find talking & practicing before filming to be SO helpful! It breaks the awkward silence between you and your camera, and you're able to piece together wording for your talking points.
If you need to, go practice in the mirror or film multiple takes until you get it right!! There's no pressure of an audience, so you have all the time in the world.
I said it before and I'll say it again, bloopers are OKAY! If you're talking and you mess up some words, be real & just move past it. I love watching & listening to people who do this, because it shows that they're real people too.
At the end of the day, filming yourself for social media is ONLY going to benefit your engagement, your reach, and your follower retention. So have fun with it, don't take yourself too seriously, and just so it! You got this, I believe in you ❤️
]]>I seriously love my camera bag, it's made to protect my lenses and it's perfect to open up and grab whatever you need!! Plus, it's also super cute so it doesn't look like I'm carrying all of my gear with me.
Here's the link to my Atlas Supply Co Camera Bag
For every wedding, I make sure to have two camera bodies on me in case one of mine malfunctions mid-day. My main camera body is the Sony A9, which I always shoot on dual SD cards in case something happens to one of my SD cards. The Sony A7iii is my backup camera body, and sometimes I'll keep a second lens on this body in case I want to change my focal length quickly.
Here's the link to the Sony A9.
Here's the link to the Sony A7iii.
I cannot get enough of this lens!! I use this lens 99% of the time, and it works amazing on my Sony A9. It's super crisp, shoots great in low light, and creates creamy bokeh in my images.
Here's the link to the Zeiss 35mm.
This lens is my go-to for close ups during a ceremony, reception, or to grab candids at a cocktail hour! It's so perfect on any Sony camera body, and the focus is insanely good.
Here's the link to the Sony 85mm.
I use the 'nifty fifty' as a backup lens in case something happens to my 35mm work horse. This lens is budget friendly and shoots very well too!! I don't use it too often, but sometimes it's nice to have variation in focal length during a wedding day.
Here's the link to the Sony 50mm.
This flash is AMAZING for Sony! I love this flash so much - and I've used a cheap flash in the past... this one is worth the investment. It's super powerful, compact still, and works like a charm.
Here's the link to the Sony Compact Flash.
I use a waterproof & dust proof SD card case all the time, and it truly helps me keep all of my SD cards in order. It's budget friendly but also very durable, so you definitely get the bang for your buck with this one!! I love how I can see all of my SD cards at once, but it's also super easy to get the cards of out the case (something that wasn't so easy with my previous SD card case).
]]>Need inspiration for bridal party poses? Or maybe you want to shake things up in your wedding photography? Trust me, I understand your pain and I want to help!
Bridal parties can be so much fun, but taking these photos also poses a number of difficulties (since this is the biggest group you'll be posing all day). From my experience as a wedding photographer, I've put together five easy poses for bridal parties, that will make your photos look effortlessly posed.
First things first, let's get one good photo of the bridal party with everyone looking at the camera!! Typically, I start with this pose and have them do different things with their faces.
Tell them:
Next, I love getting a photo that looks like the bridal party is just barely fitting into the frame! This photo gets rid of empty space in between the bridal party members, and it creates a close knit / family like feel to the images.
Tell them while they're still in the previous pose:
I love getting some movement in my bridal party photos! Most of the time, the bridal party prefers to move around anyways, so they'll look more natural and it's a win win.
Tell them:
This is a fun one for the groomsmen specifically! If the guys are down for it, it'll get a big laugh out of everyone in the party, so it's a great time for candids too.
Tell them:
It's super simple, and leave it up for interpretation. They might do it a little different than normal and that's totally ok!
This is another pose I love that makes the bridal party look like a tight group of friends (because they probably are!) Plus, it'll get lots of laughs from everyone which makes for great candids.
Tell them:
If you're anything like me.. I don't stay organized well when I'm shooting 3 times a day, two weddings on the weekend, and I hardly have time to deliver previews. Well, if you're new here - that's why it's called busy season! While I love being busy and booked out, you still need to stay on top of your business to make sure you're keeping your clients happy.
Lucky for you, I've mapped out a few key ways I stay organized during the chaos of busy season:
One of my biggest tips for staying on top of things is planning out my week before it all starts. I've actually invested in a paper planner, where I write down my whole schedule for the upcoming week.
I start by writing out all of my tasks & goals for the week on a separate paper, and once I write in all my upcoming sessions for the week, I then time slot each task that needs to get done. This method keeps me on track throughout the week, and I know what I need to do each day!
I’m sure your inbox is going CRAZY but try not to let it distract you! Set aside times for responding to emails, sending contracts, and all that other office work! If it’s not within your designated times, then focus on the other things you have planned.
When photographers have back to back shoots, chances are high that your editing workload is HEAVY. Be sure to effectively communicate your current editing queue to your clients, and know when you need to have sessions edited by (put the due dates in your calendar!!). Schedule time to edit your sessions, and DON’T EDIT WITH NETFLIX. This may be a controversial topic, but you will be so much more efficient if you focus just on editing & not last night's drama from The Bachelorette.
It’s easy to get caught up in the every day tasks, and to forget about the big picture stuff! Some of these things include:
If you’re reading through that list and feeling like you can’t accomplish these things without going insane, maybe it’s time to hire a Virtual Assistant!
Geez. Go easy on yourself and implement some self love today. In between editing sessions or answering emails, take a minute to look away from the screen and take a breath. I like to go out on my deck (with no phone or laptop), and just soak in the sun for a few minutes. Afterwards, I always feel ready to focus again!
During a busy season of shooting, editing, delivering, and repeat… it can be easy to run into a creative block! Try going out and exploring someplace new, or doing a creative shoot you’ve always wanted to try! Here's a few creative ideas you can try:
Is lighting important? Why should I care about lighting for my photos?
As a photographer, I found myself not caring about lighting because I could always 'fix it in post'. I would shoot during the day or indoors under harsh lights and wonder why the heck I didn't like my photos?
Well here's a little secret for you: lighting matters!!! I'm going to talk about 3 reasons you need to care more about your lighting when you take photos, and by the end you're going to be absolutely convinced!
Lighting is a photographers friend - but also our worst enemy at times! Anyone else ever had a shoot at 1 p.m., and the lighting was so harsh? Well, this is the type of situation I'm about to talk about. Your lighting can either highlight and compliment your subject, or it can completely take away the focus from your subject all together.
When a subject has artistic lighting, it adds so much life to your images! Let me show you an example:
On the images above, one was taken around noon (when the sun is at its highest), and the image on the right was taken at sunset. Now, neither of these photos are bad, but one clearly has a more warm feel to it!
When I think about my photography style, it leans more towards warmth and golden light rather than harsh midday sunlight. Plus, my subjects on the left are more evenly lit, and the lighting compliments the image on the right better than the left.
This is something that took a long time for me to implement. Although we have awesome photo editing tools, like Lightroom and Photoshop, those things cannot change the original composition and lighting of an image (no matter how hard you try).
Instead of wasting hours in post-editing trying to correct your mistakes, take the time during your shoot to find the best lighting for your subject.
Try holding up your hand, and keep moving until your hand is evenly lit (either backlit or directly lit in the front). Once my hand is lit the way I want it, I know where I'll need my subject to be and what direction they need to face.
I know it can be annoying that photographers only shoot at sunset, but there's a good reason why! The lighting at sunset is beautifully golden, it's not as harsh on your subject, and it's easy to position your subject to have the light behind them.
And while I'm not saying you have to shoot at sunset for every session, here's a few tips I implement into my photography to help me preserve the best lighting:
Remember: lighting is important and when you're shooting, be conscious of where your subjects are standing & how the lighting looks on them!
]]>
So...let's dive in!!
Don't want to read this post? Check out my Youtube video on this topic instead!
Direct sunlight happens when the sun is at it's absolutely highest, so depending on your location... anywhere from 10 a.m. to 2 p.m. When I'm shooting direct sunlight, I always keep my ISO as low as possible! I'll adjust my shutter higher in order for me to keep my low aperture (so I can get some niiiiice bokeh).
Settings for this photo:
ISO: 50 F/2.0 Shutter: 1/1600
When the sun is covered by clouds & creates a nice shade, this is a great time to get evenly lit photos. When I shoot in the shade, I keep my ISO lower but I won't go as low as the previous examples (ISO 100). I find that ISO 200 is perfect for shady situations! My aperture stays low for stylistic purposes, which means I needed to bump up my shutter high to get proper exposure.
Settings for this photo:
ISO: 200 F/1.8 Shutter: 1/1000
I find that when I'm inside for photos, windows with lots of natural light are my best friend! In this scenario, I needed my ISO to be higher than it was outdoors, which is why I went with ISO 320. I left my shutter higher at 1/640, since first looks can be pretty fast paced and I wanted to capture everything crystal clear!! My low aperture was to let in enough light for proper exposure.
Settings for this photo:
ISO: 320 F/2.2 Shutter: 1/640
For this image, I found that my subjects needed to be facing away from the window in order for me to have enough room to shoot!! As a result, the lighting was darker since the window was behind my subject. I had my ISO at 500 to give my subjects enough light, which is also why my shutter was low at 1/320. My aperture was cruising a little higher than normal (f/2.8) so I could get the bridal party also partially in focus.
Settings for this photo:
ISO: 500 F/2.8 Shutter: 1/320
This is a CLASSIC situation when photographers think: "How in the world am I supposed to get photos of this?!??!". A sparkler exit is a great example of limited light, and for this photo I had my ISO as high as it could possibly go (ISO 1000). Then, my aperture was as LOW as it could go to let in as much light as possible. I tried to rock a shutter speed that was still fast (so my subjects wouldn't be blurry), but low enough that I wasn't darkening my image.
Settings for this photo:
ISO: 1000 F/1.4 1/320
Want to learn more about camera settings? Check out my Guide To Manual Camera Settings!
]]>Hey, if you're reading this blog then CONGRATS! You've booked your first wedding and you're preparing to shoot it. In my time, I've captured around 40 weddings of many sizes and I'm here to let you in on a few secrets. There are so many important things for you to know before the big day, and I hope to outline all of these things in this post. Grab your pen & paper (or iPad for all you tech-savvy people), and let's get talking!
Don't feel like reading about shooting weddings? Check out my Youtube video that covers everything in this blog & more!
Weddings are a big deal, and these photos are going to last the couple their entire lives. You want to make sure you're capturing the day to the best of your ability, and this starts with prep work!! Yes, that's right. There's a lot of pre-wedding details that need to get sorted out before you jump right into it...
Below is a list of some of the items you should talk about before the wedding day:
Helpful hint: Make sure you have a photo timeline prepared, even if the bride gives you a very generic timeline. Make your own timeline, with everything you need to shoot outlined. This way, you'll know when you need to capture each thing, and you can be on the look out for what's next.
Another important part of prepping is making sure your camera bag is good to go! Whether you've got a fancy camera bag or if you're just using an old backpack, you've got to be ready for any + all chaotic camera gear situations. Here's a few tips in regard to your camera bag...
Helpful hint: Don’t be afraid to rent lenses if you need them. The right lenses help make your photos fit the style you want (especially prime f/1.4 lenses)
When you capture a wedding, you never want to miss an unscripted moment! Since this is your first wedding, I highly suggest shooting more than you think you need. In case something goes wrong, someone blinks or whatever, it's better to have options just in case! Here's a few more tips in regard to shooting...
Helpful hint: Use lots of poses for bride & groom poses, you can even bring a sticky note with all your ideas so you don’t forget!
If there's one thing I wish I could tell myself as a beginner photographer, it's to have confidence in my ability! Don't let the fear of the unknown keep you from trying new things (like shooting weddings).
You set the mood for the day so stay positive. The bride & groom will feel stressed if you’re stressed, and comfortable if you’re comfortable.
Have tons of fun!! Weddings are a BLAST to shoot, and it's a privilege to capture the most special day of someone's life.
]]>
Well, I was at your place once & I know how it can feel: hopeless, confusing, frustrating *insert whatever sad adjective you want*. I'm here to tell you that you can make money from your photography and it's actually quite easy.
I've outlined six steps to get you to the point where you can realistically start charging people to take their photos (woo hoo, yay business!).
First of all, you need to define why you want to make money from photography. So this step is to help you check your motives. Ask yourself this:
Are you passionate about photography?
If you didn’t get paid, would you still want to be a photographer?
These are important questions to ask yourself before you dive deep into pursuing photography as a career. If you don’t truly love photography, then this career probably isn’t for you (not to be a buzz kill). Being a photographer as a career is absolutely exhausting, but is SO worth it in the end because we, as photographers, love our jobs more than anything.
You simply need to be committed to pouring time, energy, and make sacrifices in order to continue in photography as a means of making money.
Okay, can you agree with me that you’re passionate about photography? Awesome, let’s keep going!
The first step to making money from your photography is establishing what you’d like to capture.
What do you love to capture? Couples? Landscapes? Individuals? Events?
Side note: I’m not saying that a couples photographer cannot also do family sessions or take landscape photos, but I am saying that the more specific you make your photography, the easier it will be to target your ideal clientele through marketing.
For me, I love taking photos of couples and telling a story through my photographs—so there’s not a doubt in my mind that couples and wedding photography are my forte. Now, I still do senior sessions and other miscellaneous shoots, but I’m really not advertising for these types of sessions. Wedding photography is where I want my focus to be.
A picture is worth a thousand words and when you want to turn your photography into a profitable business, you must have photos to show potential clients. Here are some ways to build your portfolio:
Make sure your portfolio reflects your target niche market, and only pick the best of the best for your portfolio.
You'll want to have a digital platform to show any potential client that you mean business! Your portfolio should be easy to access and free from ads, just to ensure you don’t scare anyone away.
There’s a few things you want to consider when you first start pricing your services as a photographer.
Then, you'll want to check out other, more experienced, photographers and see how much they charge. You shouldn’t use their packages as a number to copy, but rather, to see what an average photographer charges & charge less (since you’re first starting out).
Wherever your portfolio is displayed, make sure you have a place where potential clients can see how much you charge—or even a contact method that can direct a new customer right to your email (like a fun contact form).
This is such a simple concept, but many have a hard time following through with this: people won’t know about your photography unless you show or tell them.
Here’s a few ways to get the word out about your photography:
When you start to get inquiries, you'll want to book...book...and keep booking! The more photos you can take at first, the better you'll get and the more you can start raising your prices.
Booking clients is fairly simple: find a date that works best for both of you, pick a time, location, and land on a price (if you're open to negotiation).
The more time you spend getting better at photography, the more likely you are to grow your clientele. Remember to be yourself and make your business your own. You'll never regret staying true to yourself, and in an industry with so many other contenders, it's absolutely essential to be 100% yourself & not somebody else.
Now, I believe in you - you can do this. Go conquer this thing!
]]>Couples photography is such a fun part of my job: whether it's photography for an engagement, a wedding, or a 'just because' couples session... every couple wants a photographer who's going to capture their relationship in a way they've never seen before.
As a couples photographer, I want to share a few tips that truly help me succeed when I'm capturing couples. Keep in mind, every one starts somewhere & we've all struggled shooting couples in some way / shape / form. There's always going to things to improve on, but here are some practical tips to help you succeed when shooting couples!
Every couple is different, but one thing will always be the same: a couple won’t feel comfortable unless you are!
Make sure you’re properly prepared for a couples session; talk to them about their dream photos & have a vision in mind for how you’re going to accomplish this thing!
You can come prepared by doing these things:
-be prepared with your locations.
-have prompts in mind beforehand.
-get to know them on social media, so you have some background when you first meet each other!
-check the weather & bring necessary props (a.k.a. an umbrella) if neccessary.
While you, as the photographer, should feel comfortable... so should your couple! Read on to see the best ways to get a couple to open up in front of the camera.
Everyone likes when positivity is shown towards them, and shooting a couple is no exception. Let them know what they’re doing that looks great & keep encouraging them throughout the session.
If they do something that looks funny or uncomfortable, instead of telling them they look weird, give them something else to do / say in the photo.
I typically shy away from showing them the back of camera, so while you can encourage them, try to avoid this! When you show a client a photo that isn't in its final form (a nice edit, cropping, photoshop touch ups, etc.), it might make the couple even MORE self conscious during the session.
So instead, use your words & it'll show them just how good they're doing!
Remember, a lot of people have only been in front of a professional photographer a few times in their life...so you're words and actions are going to make a huge impact on their impression of you!
It’s always important to make sure you’re both on the same page when it comes to expectations, so make sure you talk about all of their expectations before the session!
Some things you should go over beforehand is location, colors, outfits, overall vibe of the photos, and what emotions they want portrayed in the photos.
When you prompt a couple (rather than using stiff poses), this allows room for the couple to be themselves and show their relationship in the photos.
Prompting involves MOVEMENT and interactions between the couple that bring out true emotion! For example: I would tell a couple to "whisper in her ear something you love about her." This prompt leads the couple to focus on their relationship, and they're more focused on each other than on the gigantic camera pointed at them (unless you have a Sony, then your camera is much smaller ;).
Plus, who is better at getting someone to laugh: you, or the person they’re madly in love with?! Kind of a no brainer. The reality is that they know each other a lot better than you know them, so use that to your advantage!
There's so many more things I could say, so maybe I should write a novel? If there's one thing I want you to take away from this, it's this: couples photography is all about capturing the relationship between the couple. These tips are to help you capture the personality of the couple & to document the love they share for each other. Period.
]]>
Smart previews...here's why you need to use them:
First thing's first: always import your photos onto an external hard drive (and not directly from your SD card into Lightroom)
If you don't already - you should start off your editing process by ALWAYS importing your photos onto an external hard drive. That way your computer storage doesn't fill up and you'll be able to use multiple hard drives as back ups.
If you import your photos directly to your hard drive (rather than from your SD card), you'll eliminate Lightroom from eating up your computer's storage. When you import directly from an SD card to Lightroom, Lightroom will (by default) copy your photos from your SD card directly into a new folder in your computer's library. Talk about eating up your storage REAL QUICK.
Plus, if you keep your raws on another device, you'll allow your computer to run faster and therefore, you'll edit much much MUCH faster.
If this is the first time you've heard about backing up your photos to a hard drive, here are some cost friendly hard drives you can buy.
Smart previews have absolutely saved my life (and the storage on my MacBook). Read on to learn about my super secret technique!
Thousands are asking: What are smart previews? Smart previews are smaller versions of the original photos you've uploaded to Lightroom.
Why are smart previews helpful? Smart previews allow you to continue to edit photos without connecting the device that contains your original photographs.
Here's how to create smart preview in Lightroom:
This may take anywhere from 1 minutes to 30 minutes depending on how many photos you're generating, so pour yourself a cup of coffee & get comfy while you wait.
After some time, then you'll have smart previews! Now, you won't have to edit with that annoying hard drive connected to your computer 24/7. And, you'll load RAW images a million times faster than before.
*side note: when you're finished editing, make sure you plug in your external hard drive to export. Otherwise, you'll export the small versions of your photos which will NOT be high quality.
Have more questions about smart previews? Check out Adobe's article on smart previews!
]]>